GitHub uses a version control system called Git to track changes in your project. The core actions in Git that interact with repositories are Commit, Push, Pull, and lesser mentioned Fetch. Understanding these actions will help you work effectively with GitHub and ensure your project is properly synced across different environments.
These behaviors can easily be defined as the following:
- Commit: Record changes to your project locally.
- Push: Send your local changes to the remote GitHub repository.
- Pull: Retrieve the latest changes from the remote repository.
- Fetch: Check for updates in the remote repository without merging them.
By regularly committing, pushing, pulling, and fetching, you’ll maintain smooth version control and collaboration on GitHub.
Git Commits
When working on a project using version control with Git, committing your changes regularly is crucial for several reasons:
- Track Your Progress: Committing frequently allows you to keep track of your progress over time. It provides a clear record of what has been done and when. If you need to revisit a previous state of the project or review a specific change, your commit history will provide a valuable reference.
- Easier Collaboration: When working with a team, frequent commits ensure that your changes are visible to others. This makes collaboration smoother, as others can pull the latest changes from the repository and integrate their work with yours without conflicts.
- Minimize Loss of Work: By committing regularly, you reduce the risk of losing valuable work due to unexpected issues such as crashes or accidental deletions. You can always go back to a previous commit and pick up from there.
- Better Debugging: Frequent commits allow you to isolate bugs more effectively. When a bug is introduced, you can easily pinpoint which commit caused the problem and roll back to a previous working state.
🛠 Committing Changes
📝 Version Control | 🕑5 minutes | Required Files : none
Step 1: Check for Changes in GitHub Desktop
After making edits to your local files, open GitHub Desktop to check for any changes since your last commit.
- Launch GitHub Desktop.
- You should see all the changes that have been made since your last commit.
Thousands of Changes
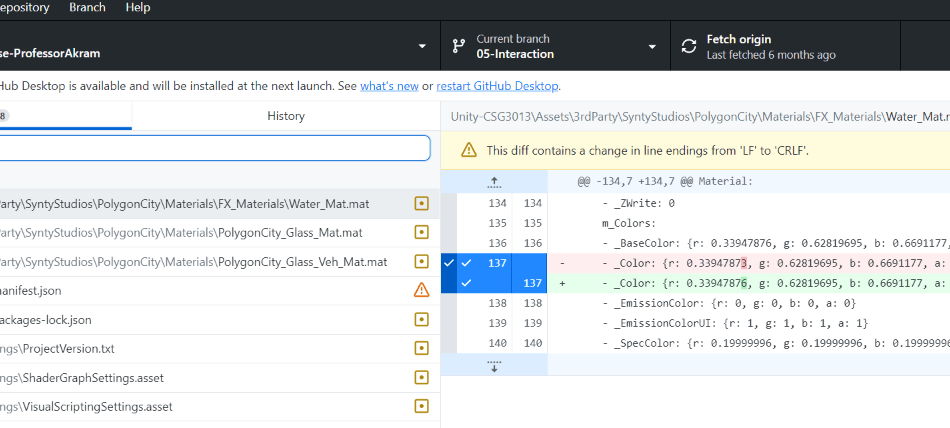
The .gitignore file is a special hidden file that tells GitHub which files to ignore when pushing or pulling repositories from the cloud. For Unity projects, the .gitignore file should be placed inside the Unity project folder and not the root folder of the repo. If you’re seeing thousands of changes after adding a Unity project, ensure the .gitignore is properly placed to prevent unnecessary files (like local libraries) from being tracked.
Step 2: Commit Your Changes
Once you’ve reviewed your changes, it’s time to commit them to your local repository.
- Provide a brief description of your changes in the Commit message section.
- Click Commit to main (or the relevant branch).

Committing will save your changes locally but won’t yet upload them to GitHub.
Naming Commits
Each commit needs a meaningful, descriptive name and while this might seem tedious at first, it’s a best practice that makes your commit history much more readable and understandable to others (and your future self).
All commits require a title and an optional description, which should explain what was changed and why. It is best practice to use meaningful titles and descriptions for better readability of the commits and to avoid ambiguity, such as with a commit titled Fixed stuff or Updated files.
Instead, use clear, concise messages like Fix button alignment on homepage or Add user authentication feature. For more examples, see the sample commit naming scheme.
Step 3: Push Your Changes to GitHub
Once you’ve committed your changes locally, you need to push them to your cloud repository.
- At the top of GitHub Desktop, click Push origin to send your local commits to GitHub.

🛠 Squash Commits
📝 Version Control | 🕑5 minutes | Required Files : none
While it is important to provide meaningful titles and descriptions for your commits. Sometimes, after a long debugging session, you might find yourself committing multiple times at odd hours, with titles like:
- IT FINALLY WORKS
- I HAVE NO IDEA WHAT HAPPENED
- Just… trying something!
While these can be a good way to let out some frustration 🤬, they are not helpful when reviewing commits and could be perceived the wrong way in a collaborative and professional setting.
In these cases, it’s a good idea to squash your commits, which essentially is the process of combining multiple commits into a single commit with a more appropriate name before pushing them to the remote repository.
Step 1: View and Select Commits to Squash
- Launch GitHub Desktop and navigate to the repository and choose the branch containing the commits you want to squash.
- Click the History tab in the left sidebar to see past commits.
- Hold Ctrl (Windows) or Cmd (Mac) and select the commits to squash.
Step 2: Squash and Edit Commit Message
- Drag the selected commits onto the commit you want to merge them with.
- Modify the commit message to accurately summarize the changes.
Step 3: Finalize and Push
- Click Squash Commits to combine them.
- Click Push origin to upload the cleaned-up commit history.
By squashing commits, you maintain a well-organized and meaningful history for your project. This not only helps others understand the progress but also makes it easier to track down specific changes later on.